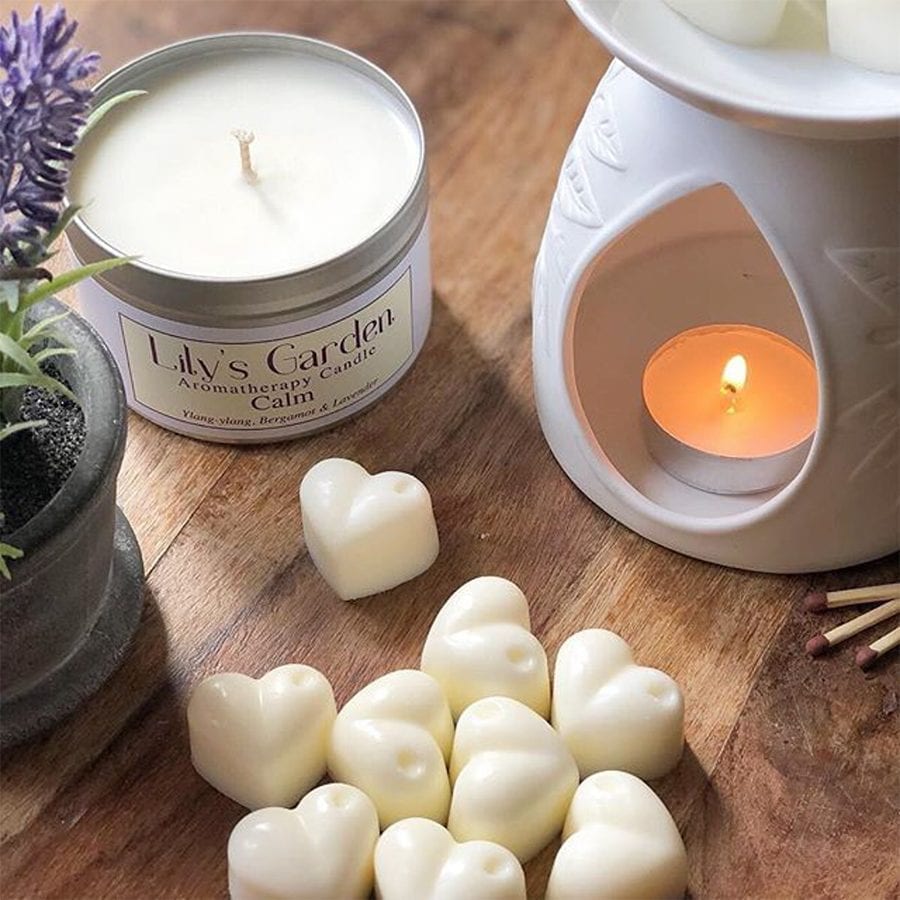
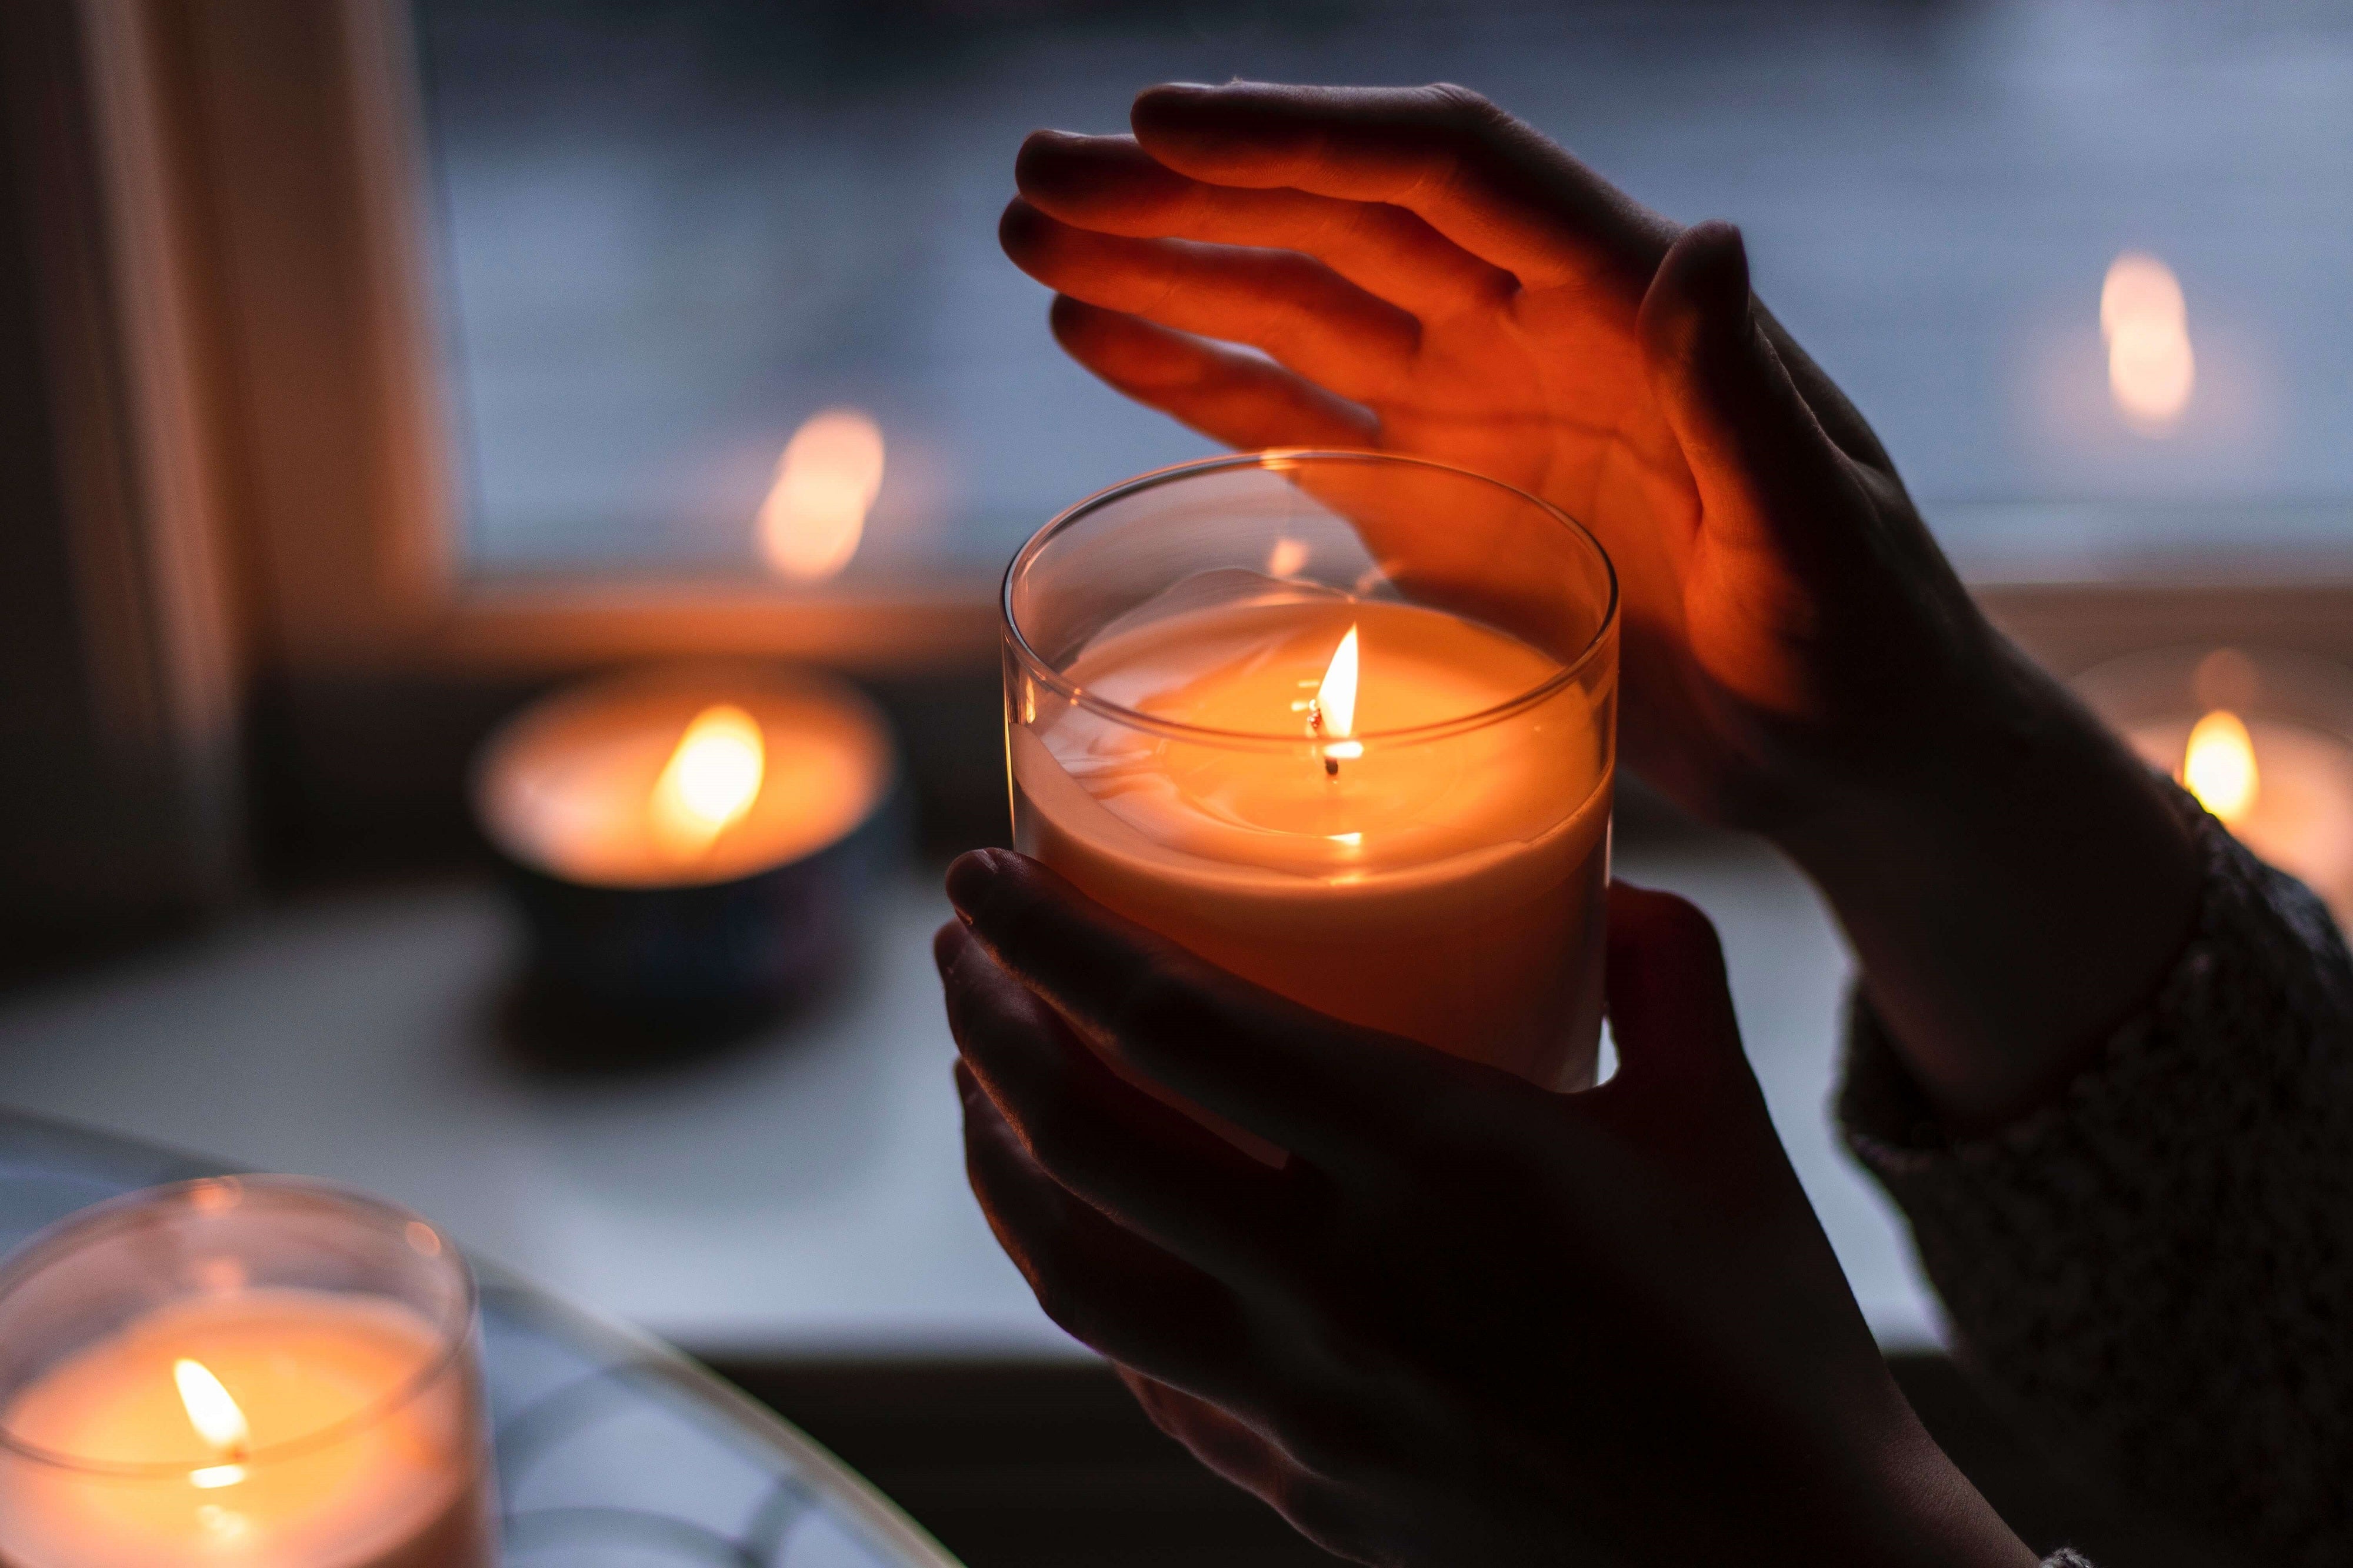
Working for a perfumery you can assume that I love a good scent, whether this is a perfume, a candle, a reed diffuser or a wax melt. Walking into a well scented room makes me happy, your surroundings can easily change your mood and your senses play a big part in this. Think about it, sight, smell, taste, touch and sound. If your environment makes you happy in as many senses as you can make it then your onto a winner! I am also a bit of a hoaarder, especially when it comes to candles. I like to use them down to the point the wick burns out and there is nothing left to burn. Unfortunatley usually that doesnt mean all the wax has gone and while it can only be a small amount i have had candles burn out on me before with lots of wax left. Due to this I have recently discovered how to use the leftover wax and turn it into wax melts so that even once the wick has gone the wax is still being used!

What you need:
Leftover wax from candles (only scented candles!!)
Tea towel or gloves to protect your hands - trust me on this one
Pan of gently simmering water
Silicone mould tray or mini cupcake cases - I find the silicone is the easiest to pop the hard wax out of
Method
If you are able to melt the candle and save the wick to light the candle again then feel free to melt the wax to the point where you able to pour some out and get the candle burning again.
If however you want to just retire the candle and turn the wax into melts heres how you do it!
Choose the shape and size of the wax melts you want to make, I suggest making them small but having lots of them just so they will definitely fit on the wax burner you have. You can always add 2 or more of the melts to the burner if it has a bigger surface. You can make the shape as fun or simple as you want. Like I said silicone moulds are the easiest to get the wax out of so why not buy a variety pack similar to the one below (from amazon) that allows you to change up the shapes. We dont advise later using this mould for food after a load of wax has been inside it though.

Image via Amazon (Shop here)
How to melt the wax
Now this is pretty easy but the jar will get hot so be careful! It is best for the candle to be in a heatproof container such as glass or metal, we don't recommend doing this with a candle if has a plastic surrounding as this could melt all over your pans!
Keep the heat low and let the water gently simmer, pop your candle jar in and let the heat melt the wax. You can also pop them in the microwave but make sure you have removed any metal before doing so!!!!! Do not forget that the wick (if it is still in the candle) will most likely have a metal tab on the bottom that will need to be removed first. Keep watching the candle and only do it in short time bursts, no more than 30 seconds a time.
Making the wax melts
Now that the wax has started to melt you can begin to pour it into the moulds, remember the candle casing will be very hot so make sure you use gloves or a tea towel or something to pick up the jar. I found it is easiest to pour from the jar as the wax melts instead of waiting for the whole of the jar to be liquid as it is harder to pour safely but also easier to drop and spill melted wax everywhere... don't be me.
If you are melting over the hob watch as you get lower and scoop out the candle wick when possible, we dont want it going into one of the melts later on.
Let the melts cook for at least an hour before popping them out of the silicone tray, you can then store them however you would like. I recommend a sealed bag or container, maybe even the candle jar you melted them from!

Ta da! All done! Now you can enjoy your wax melts!
Like this article? Sign up to our newsletter to get more delivered straight to your inbox
_____________
 Welcome to...
 Austria
 Belgium


Share:
Match Your Makeup To Your Fragrance - Some Of Our Favourite Looks
Sustainable Influencers You Should Be Following